DIY Guide: Forge Your Own Aluminum Heat Sink
In the realm of electronics, heat dissipation reigns supreme. When components overheat, performance plummets, and reliability crumbles. Enter the heat sink, a knight in thermal armor, safeguarding your delicate electronics from the scorching fires of excessive heat.
Embark on a DIY odyssey to craft your own aluminum heat sink. This undertaking might ignite your inner Prometheus, bringing forth a beacon of cooling power.
Materials:
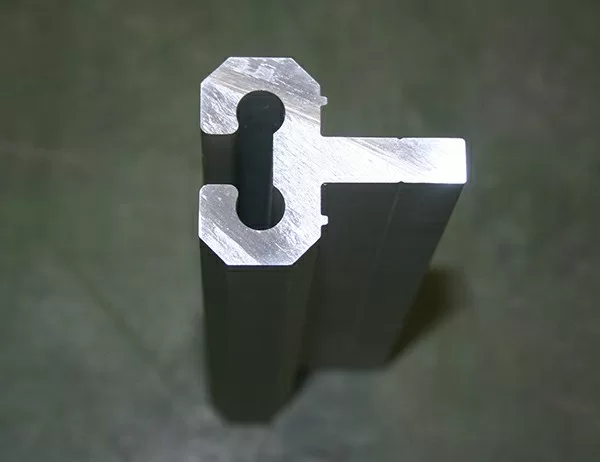
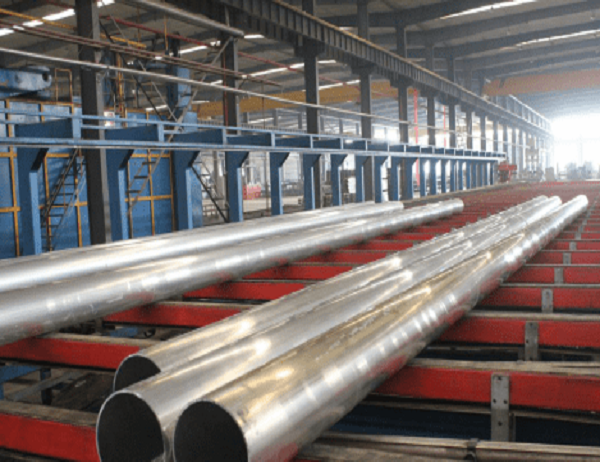
Aluminum extrusion
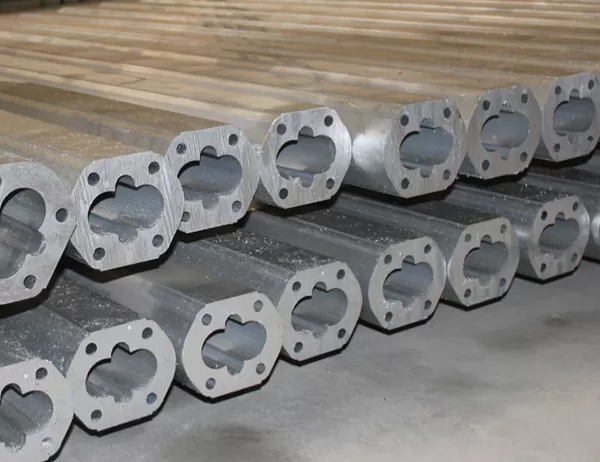
Heat sink fin material
Thermal adhesive
Screws or bolts
Drill
Saw
Crafting the Core:
Begin by selecting an aluminum extrusion, its length dictated by your cooling needs. Use a saw to cut it to the desired dimensions. This extrusion forms the backbone of your heat sink.
Forging the Fins:
Next, prepare the heat sink fins. These thin, metallic appendages increase surface area, enhancing heat dissipation. Cut them from a suitable material like aluminum or copper.
Adhering the Fins:
Apply thermal adhesive to the mating surfaces of the extrusion and fins. Press the fins onto the extrusion, ensuring a snug fit. This adhesive bond will facilitate heat transfer.
Final Assembly:
Secure the heat sink to your electronic device using screws or bolts. Ensure the screws don’t impede airflow.
Performance Tuning:
Fine-tune your heat sink’s performance by maximizing airflow. Consider using fans or directing airflow using shrouds. This will further enhance cooling efficiency.
Conclusion:
By crafting your own heat sink, you not only save a few bucks but also unleash your inner engineer. This DIY endeavor empowers you with the knowledge and experience to optimize the cooling of your electronics, ensuring their longevity and peak performance. May your heat sink be a beacon of thermal efficiency, vanquishing the oppressive heat that threatens your precious gadgets!