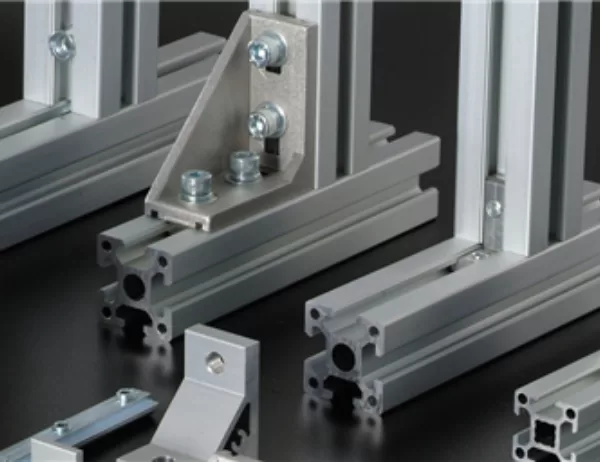
Aluminum solar frames play a crucial role in supporting and securing photovoltaic (PV) panels on rooftops and solar farms. Installing these frames correctly is essential to ensure optimal performance, longevity, and safety of the solar system. This article presents a comprehensive guide to installing aluminum solar frames, providing detailed tips and best practices for hassle-free and efficient installation.
Before commencing installation, it is crucial to prepare the site adequately and inspect the materials. First, thoroughly clean the roof or ground surface where the solar frames will be mounted. Remove any debris, dirt, or obstacles that could interfere with the installation process. Next, carefully inspect the aluminum solar frames and mounting components to ensure they are undamaged and free of defects.
The next step involves carefully laying out the solar frames according to the system design. Accurately align the frames and ensure proper spacing between them to maximize panel efficiency and minimize potential shading. Use a spirit level to ensure the frames are perfectly level both horizontally and vertically. This leveling is critical to prevent uneven stress on the panels and premature wear or damage.
After leveling the frames, it is time to mount them securely to the roof or ground structure. Choose appropriate fasteners, such as bolts or screws, that are compatible with the roof material and meet the structural requirements. Use stainless steel or aluminum fasteners to prevent corrosion and ensure durability. Tighten all fasteners with the specified torque to provide a firm and reliable hold.
Once the frames are securely mounted, carefully place the solar panels into their designated slots. Ensure proper alignment and secure the panels using the provided clamps or clips. Connect the solar panels to each other electrically using compatible wiring and connectors. Follow the manufacturer’s instructions for proper connections and ensure polarity is maintained throughout the system.
Grounding is crucial for the safety of both the solar system and individuals working on it. Properly ground all metal components, including the aluminum solar frames, to prevent electrical shock hazards and protect against lightning strikes. Use appropriate grounding rods or ground wires to establish a low resistance path to the earth.
After the installation is complete, thoroughly inspect the system to ensure everything is properly connected and secured. Check for any loose fasteners, damaged components, or potential hazards. Perform regular maintenance to keep the solar frames and panels clean, free of debris, and in optimal condition. This will maximize energy output and extend the system’s lifespan.
Installing aluminum solar frames requires precision, attention to detail, and adherence to best practices. By following the essential tips outlined in this article, installers can ensure a successful and efficient installation that will deliver optimal performance and longevity for the solar system. Proper site preparation, accurate layout, secure mounting, professional wiring, proper grounding, and ongoing maintenance are key factors in achieving a safe, reliable, and cost-effective solar energy solution.


