How to Install Aluminum Profiles in Your Kitchen: A Comprehensive Guide
Aluminum profiles have become increasingly popular in kitchen design due to their durability, versatility, and sleek aesthetic. Installing aluminum profiles in your kitchen requires precision and attention to detail, but it is a rewarding project that can significantly enhance the functionality and style of your space. This comprehensive guide will provide you with step-by-step instructions on how to install aluminum profiles in your kitchen.
Before beginning the installation process, it is crucial to plan and prepare the kitchen space. This includes clearing the area around the intended installation site, measuring and marking the necessary dimensions, and gathering all required tools and materials.
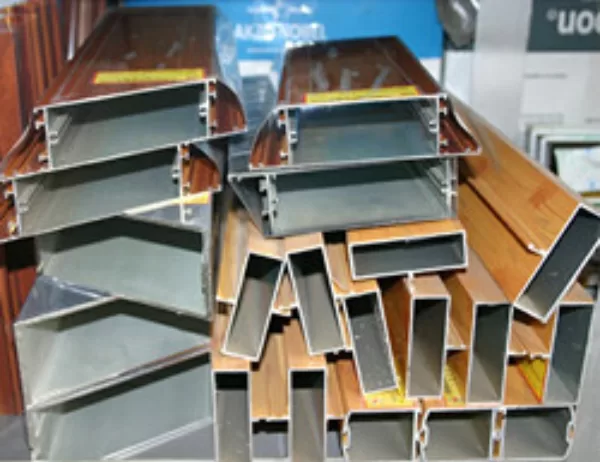
Base profiles are used to create a seamless transition between the floor and the aluminum profiles. They are typically installed first and provide support for the vertical profiles. The base profiles are secured using screws or adhesives.
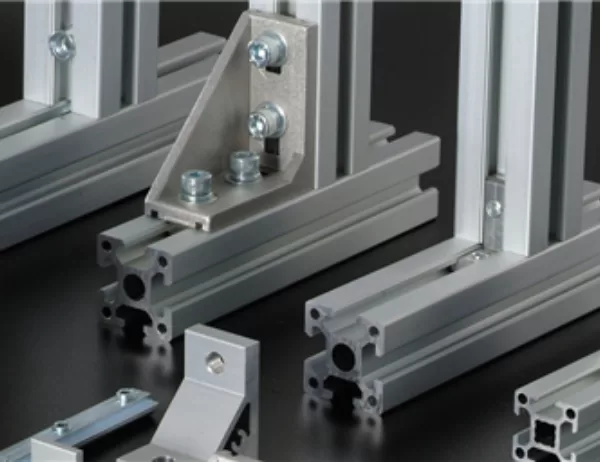
Vertical profiles are the main structural elements of the aluminum profile system. They are installed vertically using brackets or clips that are attached to the wall or base profiles. The vertical profiles should be level and plumb for proper alignment.
For kitchen installations, aluminum profiles can be used to support shelves. Shelf supports are brackets or connectors that attach to the vertical profiles and provide a stable platform for shelves. The shelf supports should be spaced evenly and secured securely.
Once the shelf supports are installed, the shelves can be attached. Shelves can be made from various materials such as wood, glass, or metal. They are typically secured to the shelf supports using screws or bolts.
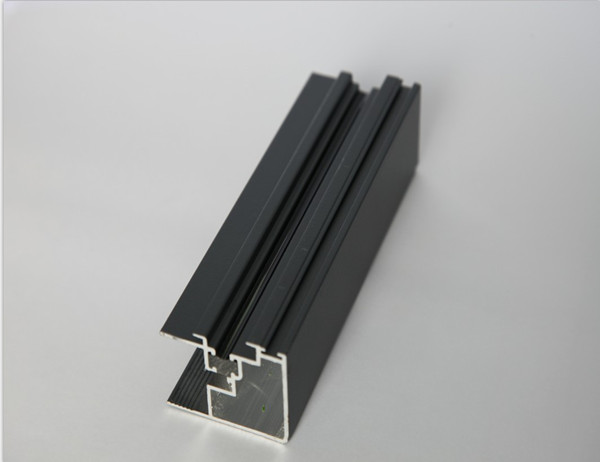
Backsplash profiles are used to create a finished edge along the backsplash area. They are attached to the backsplash material using adhesives or clips. The backsplash profiles provide a clean and professional look to the installation.
For improved functionality, aluminum profiles can be used to integrate lighting into the kitchen. Lighting fixtures such as LED strips or spotlights can be mounted onto the vertical profiles or base profiles.
After the installation is complete, it is essential to clean and polish the aluminum profiles to remove any debris or fingerprints. Aluminum profiles require minimal maintenance and can be easily cleaned with a mild detergent and water.