Harness the Sun’s Energy with Sleek Solar Aluminum Frames
Embrace sustainability and transform your home into an energy-efficient haven with solar aluminum frames. Their sleek design and durability make them an ideal choice for capturing the sun’s rays and powering your living spaces.
Step-by-Step Installation Guide:
1. Measure and Mark: Measure the area where you plan to install the solar panels and mark the location of the frames.
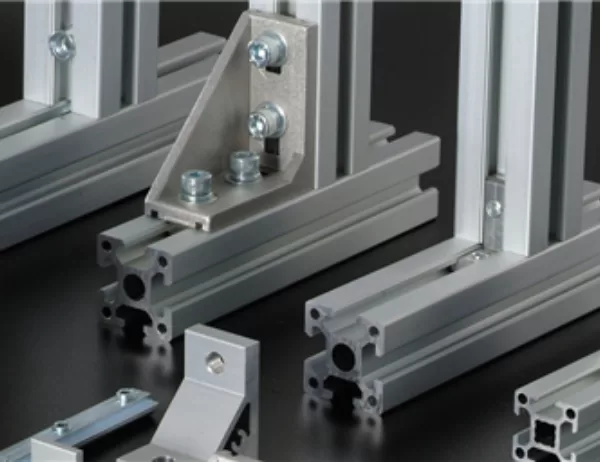
2. Assemble the Frames: Follow the manufacturer’s instructions to assemble the aluminum frames and ensure they are securely fastened together.
3. Attach the Mounting Brackets: Install the mounting brackets onto the frames and position them on the roof using screws or bolts.
4. Place the Solar Panels: Carefully place the solar panels into the frames, aligning them correctly. Secure the panels with bolts or clamps to prevent movement.
5. Connect the Wiring: Connect the solar panels to each other and to the inverter or battery storage system as per the manufacturer’s specifications.
6. Finalize the Installation: Tighten all bolts and screws to ensure a stable and secure installation. Clean the frames and panels to remove any debris.
Benefits of Solar Aluminum Frames:
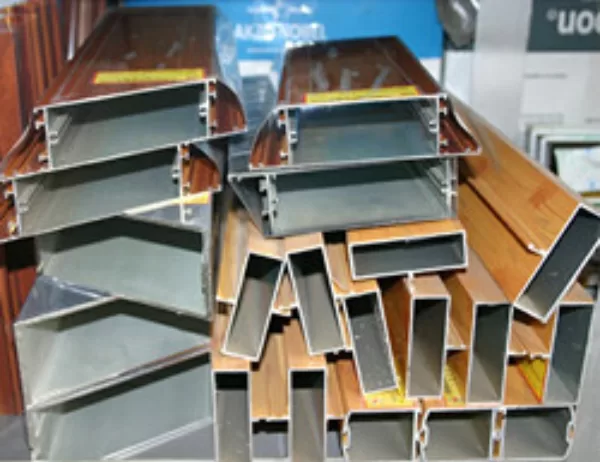
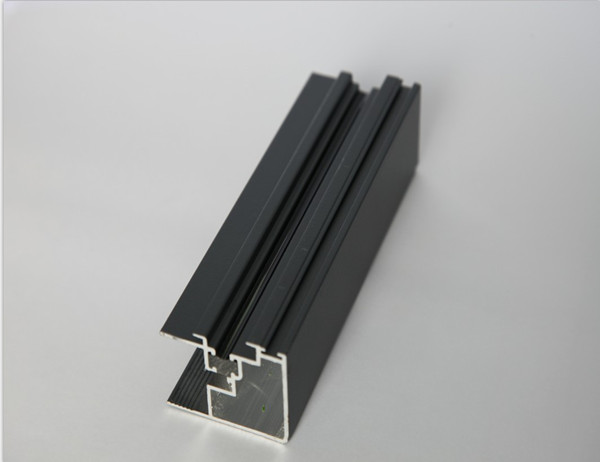
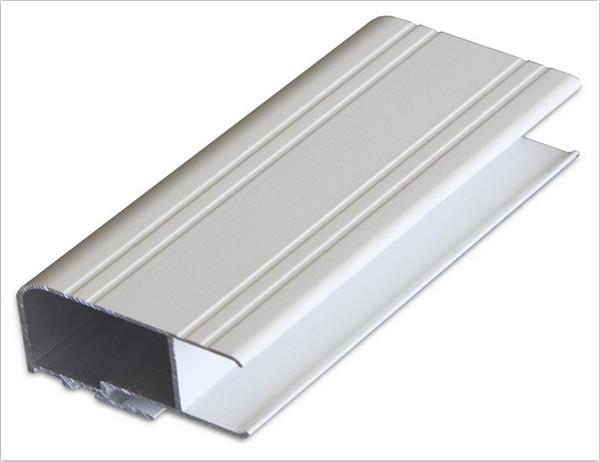
Durability and Aesthetics: Aluminum frames are robust, corrosion-resistant, and aesthetically pleasing, enhancing the curb appeal of your home.
Energy Efficiency: Optimized frame design allows for maximum sunlight exposure, boosting solar panel performance.
Easy Maintenance: The corrosion-resistant nature of aluminum makes the frames low-maintenance, requiring minimal cleaning and upkeep.
Conclusion:
Installing solar aluminum frames is a rewarding project that can transform your home into a sustainable and energy-conscious abode. By following the simple steps outlined above, you can harness the power of the sun while adding a touch of elegance to your property. Embrace solar energy and brighten your future with a hassle-free frame installation experience.