Harnessing the sun’s boundless energy has become an imperative, with solar power systems illuminating our homes and industries. To effectively integrate these systems, solar aluminum profiles emerge as the ultimate foundation. Here’s an illuminating guide to empower you with the knowledge to install them like a master craftsman.
Step 1: Preparation
Assemble your solar panels, profiles, mounting brackets, and essential tools. Measure and mark the installation area to ensure precision alignment.
Step 2: Profile Assembly
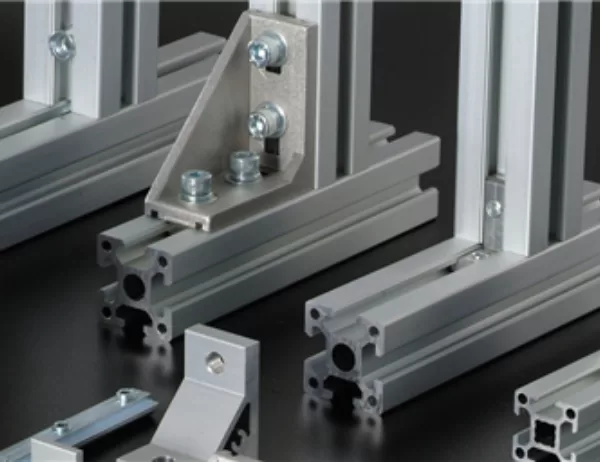
Align the solar aluminum profiles and connect them with the provided bolts. Tighten them securely to create a sturdy framework for your solar panels.
Step 3: Installing Brackets
Position the mounting brackets on the profiles and secure them with the designated screws. Choose brackets that match your roof type for optimal stability.
Step 4: Panel Placement
Carefully lift the solar panels onto the profiles, and align them with the pre-marked positions. Secure the panels to the profiles using the provided clamps or bolts.
Step 5: Wiring Connections
Connect the solar panels together according to the manufacturer’s instructions. Route the wiring through the profiles, using designated cable channels to maintain organization.
Step 6: Final Touches
Seal any gaps around the panels to prevent moisture penetration. Inspect the entire system for loose connections and ensure proper alignment.
Conclusion
By following these steps, you can confidently install solar aluminum profiles, providing a robust foundation for your solar power system. As you bask in the radiant glow of renewable energy, remember that your newfound knowledge has illuminated the path towards a greener future.


