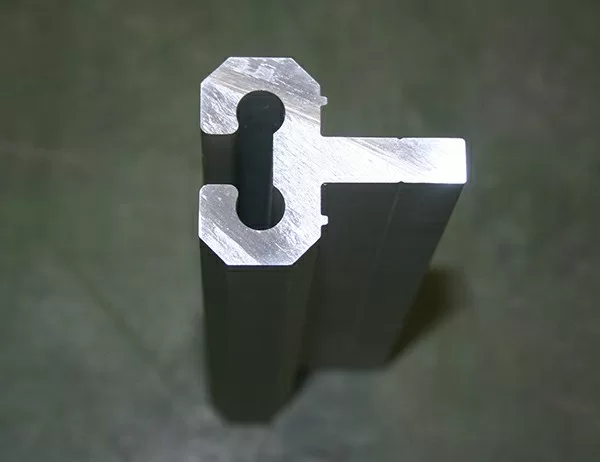
Installation Tips for Aluminum Molding Profiles: A Guide to Seamless Finishes
Elevate the aesthetics of your home or commercial space with the sleek and versatile aluminum molding profiles. These profiles, known for their durability and precision, can transform plain surfaces into architectural masterpieces. However, achieving an immaculate installation requires careful attention to detail and a few essential tips.
1. Surface Preparation: A Solid Foundation
Before embarking on the installation journey, meticulously prepare the surface where the molding profiles will reside. Ensure that it is clean, dry, and free of any debris or irregularities. This crucial step will guarantee a strong and lasting bond between the profiles and the surface.
2. Measuring and Cutting: Precision in Every Millimeter
Precise measurements are paramount for a professional-looking installation. Use a tape measure to determine the exact length required for each profile. Utilize a miter saw or a specialized cutting tool to create clean and accurate cuts.
3. Adhesive Selection: The Bonding Agent
Choose an adhesive specifically designed for aluminum moldings. A high-quality adhesive will provide a secure hold while allowing for minor adjustments during installation. Apply the adhesive evenly to the back of the profile, ensuring full coverage.
4. Placement and Alignment: A Lucrative Union
Carefully align the molding profile with the prepared surface, ensuring its precise placement. Apply firm pressure to seat the profile firmly into the adhesive. Use a level or a straight edge to verify the alignment and ensure a flawless finish.
5. Mitering Corners: A Seamless Transition
When installing molding profiles around corners, mitering is essential to create a seamless transition. Use a miter box or a specialized tool to cut the profiles at a 45-degree angle. Dry fit the profiles before applying adhesive to ensure a perfect fit.
6. Trimming Excess: The Final Touch
Once the profiles are installed, remove any excess adhesive that may have seeped out. Use a sharp utility knife or a razor blade to carefully trim the excess, leaving a clean and finished look.
7. Finishing Touches: Embellishing Excellence
For an added touch of elegance, consider painting or staining the aluminum molding profiles. This step will further enhance the profiles’ appearance and complement the surrounding décor.
By adhering to these expert installation tips, you can transform your aluminum molding profiles into captivating enhancements that elevate the beauty and sophistication of your space. Remember, meticulous preparation, precise measurements, and expert techniques are the keys to achieving a flawless and long-lasting installation.