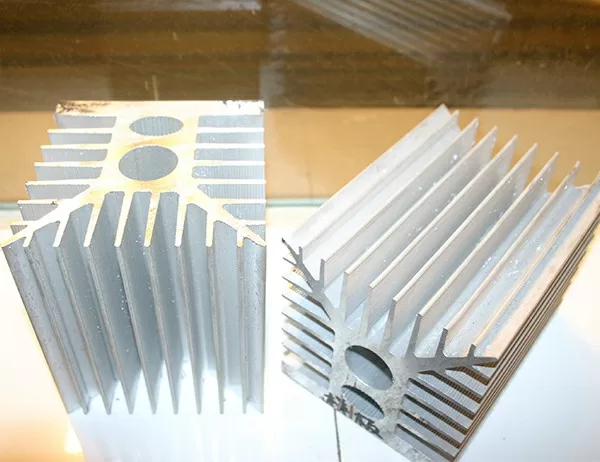
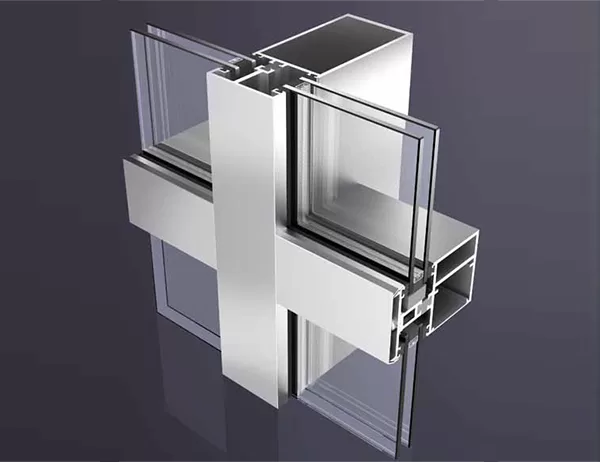
If you’re looking to give your cabinets a modern and stylish update, installing aluminum profiles is a great option. Aluminum profiles are thin strips of aluminum that can be attached to the edges of your cabinets to create a sleek and polished look. They’re also a great way to protect your cabinets from damage and wear.
In this guide, we’ll walk you through the steps of installing aluminum profiles on cabinets. We’ll cover everything from choosing the right profiles to cutting and attaching them to your cabinets.
The first step is to choose the right aluminum profiles for your cabinets. There are a few things to consider when choosing profiles, including:
The size of your cabinets: The size of your cabinets will determine the size of the profiles you need. You’ll want to choose profiles that are wide enough to cover the edges of your cabinets, but not so wide that they overhang.
The style of your cabinets: The style of your cabinets will also influence the type of profiles you choose. For example, if you have modern cabinets, you’ll want to choose profiles with a sleek and contemporary design.
The finish of your cabinets: The finish of your cabinets will also affect the type of profiles you choose. For example, if you have cabinets with a painted finish, you’ll want to choose profiles with a matching finish.
Once you’ve chosen the right aluminum profiles, you’ll need to cut them to the correct size. To do this, you’ll need a miter saw. A miter saw is a type of saw that can make angled cuts.
To cut the aluminum profiles, follow these steps:
1. Measure the length of the edge of the cabinet that you’re going to be installing the profile on.
2. Mark the length on the aluminum profile.
3. Place the aluminum profile on the miter saw and adjust the saw to a 45-degree angle.
4. Cut the aluminum profile.
5. Repeat steps 1-4 for the other three sides of the cabinet.
Once you’ve cut the aluminum profiles, you’ll need to attach them to your cabinets. To do this, you’ll need:
A drill
Screws
A screwdriver
To attach the aluminum profiles, follow these steps:
1. Place the aluminum profile on the edge of the cabinet.
2. Drill a pilot hole through the aluminum profile and into the cabinet.
3. Insert a screw into the pilot hole and tighten it.
4. Repeat steps 1-3 for the other three sides of the cabinet.
Once you’ve attached the aluminum profiles, you’re finished! Your cabinets now have a modern and stylish new look.
Here are a few tips for finishing the installation:
Use a sealant to seal the edges of the aluminum profiles. This will help to protect the profiles from moisture and damage.
Clean the aluminum profiles with a mild detergent and water. This will help to remove any dirt or debris that may have accumulated during the installation process.
Enjoy your new cabinets!


