A Comprehensive Guide to Installing Wardrobe Aluminum Profiles
Introduction
“A Step-by-Step Guide to Installing Wardrobe Aluminum Profiles” is an invaluable resource for DIY enthusiasts and professionals alike. It provides a detailed and comprehensive walkthrough of the process, ensuring a successful and aesthetically pleasing outcome. This guide offers a structured approach, covering every aspect from planning to completion, empowering you to create a customized wardrobe solution that meets your specific needs and preferences.
Planning and Preparation
Before embarking on the installation, thorough planning is crucial. Determine the dimensions of your wardrobe, including its width, height, and depth. Choose appropriate aluminum profiles based on your desired style and functional requirements. Gather all necessary tools, including a saw, drill, measuring tape, and screwdrivers. Prepare the installation area by ensuring it’s clean, level, and free of any obstacles.
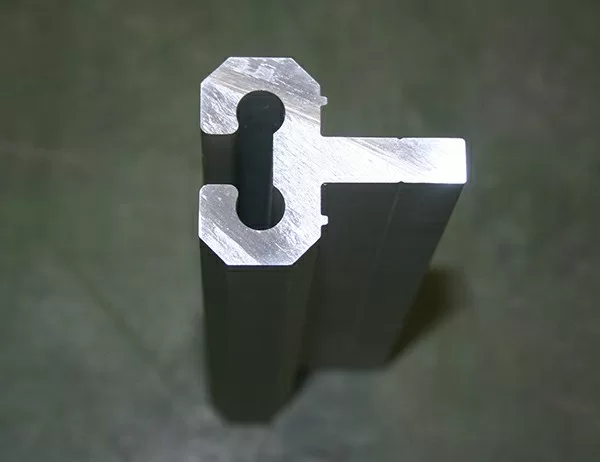
Assembling the Frames
The frames serve as the backbone of your wardrobe. Begin by cutting the vertical aluminum profiles to the desired height of your wardrobe. Assemble the vertical frames by inserting connectors into the slots provided on the profiles. Secure them with screws. Repeat this process to create horizontal frames that will form the shelves and hanging rails.
Installing the Shelves
The shelves provide ample storage space within your wardrobe. Cut the shelf boards to the desired length and width. Secure them to the horizontal frames using shelf brackets. Ensure that the shelves are level and spaced according to your preferences. Consider using adjustable shelf brackets to accommodate varying storage needs.
Hanging Rails and Drawers
Hanging rails allow for convenient storage of clothes. Cut aluminum profiles to the desired length and install them horizontally within the wardrobe. Secure them to the vertical frames using screws. Drawers add additional storage functionality to your wardrobe. Assemble the drawers according to the manufacturer’s instructions and mount them on drawer slides. Adjust the slides for smooth operation and optimal access.
Doors and Finishing Touches
The doors provide an aesthetic barrier and conceal the contents of your wardrobe. Decide on the type of doors you prefer, such as sliding or hinged doors. Cut the door panels to the required size and attach them to the door frames. Install door handles for ease of operation. For a personalized touch, add moldings or decorative elements around the wardrobe’s perimeter.
Conclusion
Installing wardrobe aluminum profiles is a rewarding project that can enhance the functionality and aesthetics of your living space. By following the steps outlined in “A Step-by-Step Guide to Installing Wardrobe Aluminum Profiles,” you’ll be able to create a custom wardrobe that meets your unique requirements. With careful planning, precise assembly, and a touch of creativity, you can achieve a professional-looking wardrobe that will elevate your storage organization.