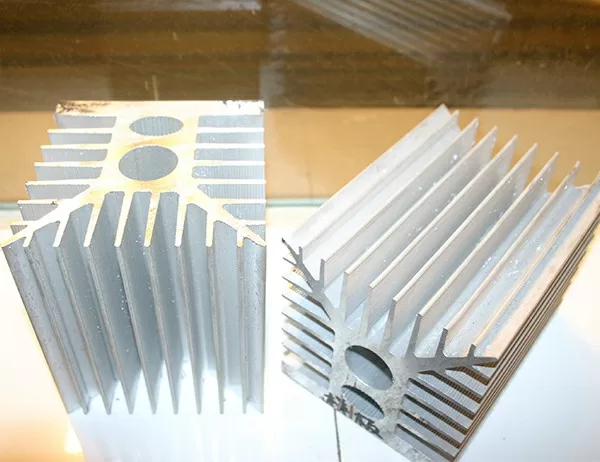
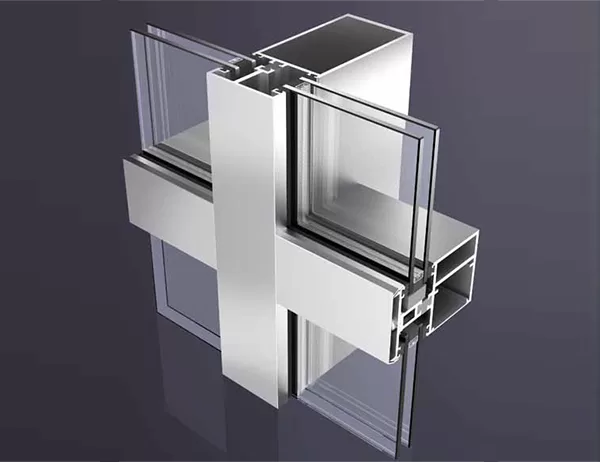
Aluminum molding profiles offer a versatile and elegant solution for enhancing the aesthetics and functionality of various interior and exterior applications. Installing these profiles requires careful planning and attention to detail to ensure optimal results. This article provides comprehensive guidelines on best practices for installing aluminum molding profiles, covering essential aspects from preparation to finishing.
Preparation
1. Surface Preparation:
– Ensure that the surface is clean, dry, and free from any contaminants such as dust, grease, or moisture.
– For porous surfaces, apply a primer to enhance adhesion and prevent moisture penetration.
2. Profile Sizing and Cutting:
– Measure and mark the desired length and angle of the profile using a measuring tape and miter saw.
– Use a sharp blade and a precision miter saw to ensure clean cuts without burrs or unevenness.
3. Pre-fitting:
– Dry fit the profiles before applying adhesive to ensure they align correctly and fit properly.
– Make any necessary adjustments or trim the profiles to fit the specific application.
Adhesive Selection and Application
1. Adhesive Selection:
– Choose an adhesive specifically designed for molding profiles, such as construction adhesive, contact cement, or epoxy.
– Consider the type of surface, exposure to moisture, and desired bond strength when selecting the adhesive.
2. Adhesive Application:
– Apply the adhesive evenly to both the profile and the surface using a bead or a notched trowel.
– Ensure that there is sufficient adhesive to create a strong and secure bond without causing excess squeeze-out.
Profile Installation
1. Positioning:
– Position the profile carefully and press it into place, ensuring it aligns with the pre-marked lines.
– Use a level or a laser level to ensure the profile is installed straight and level.
2. Bonding:
– Press down firmly on the profile to create a strong bond between the adhesive and the surface.
– Use a roller or a clamp to apply additional pressure and ensure proper adhesion.
Finishing
1. Trimming and Sealing:
– Trim any excess adhesive that may have squeezed out around the profile using a utility knife or a sharp blade.
– Seal the joints and gaps between the profile and the surface using a clear or color-matched sealant.
2. Cleaning and Maintenance:
– Clean the installed profile with a mild detergent solution to remove any residue or debris.
– Dust regularly and avoid using abrasive cleaners or harsh chemicals to maintain the appearance and longevity of the molding.
By following these best practices, you can ensure the successful and long-lasting installation of aluminum molding profiles, enhancing the aesthetics and functionality of your space.


