DIY Guide to Installing Inverter Heat Sinks: Empowering DIYers with Thermal Efficiency
Introduction
Navigating the world of electrical inverter installations can be daunting, but with the right guidance, installing inverter heat sinks becomes an accessible DIY task. This comprehensive guide will empower you with the knowledge and step-by-step instructions to ensure optimal inverter performance and thermal efficiency.
Understanding Inverter Heat Sinks
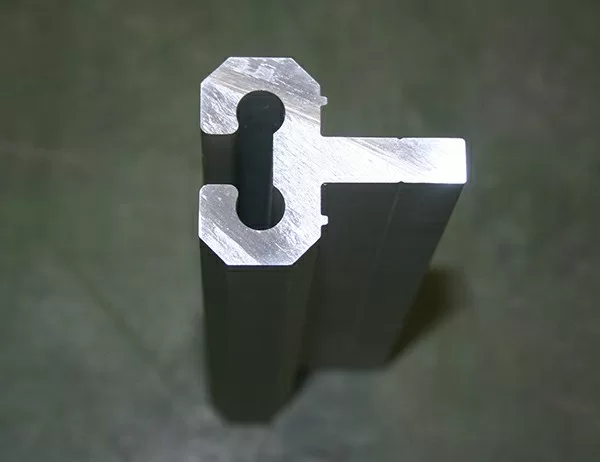
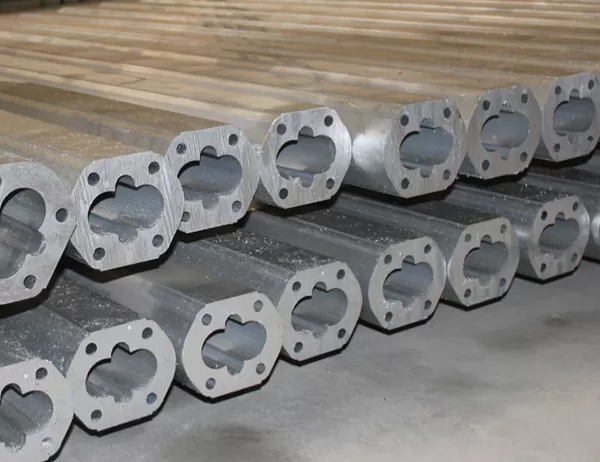
Inverter heat sinks are essential components that dissipate excessive heat generated by power inverters. They act as heat conductors, transferring heat away from the inverter’s internal circuits to the surrounding environment. Proper heat dissipation is crucial to prevent overheating and extend the inverter’s lifespan.
Materials and Tools
To embark on this DIY project, gather the following materials and tools:
– Inverter heat sink
– Thermal grease
– Screwdriver
– Wrench
– Safety glasses
Step-by-Step Installation Procedure
Preparing the Heat Sink
– Clean the heat sink’s contact surface with isopropyl alcohol to remove any debris.
– Apply a thin layer of thermal grease to the contact surface, ensuring even distribution.
Mounting the Heat Sink
– Align the heat sink with the inverter’s designated mounting holes.
– Using the included screws, tighten the heat sink in place. Ensure all screws are properly secured.
Connecting the Ground Wire
– If the heat sink features a grounding wire, connect it to the inverter’s ground terminal. This step is essential for electrical safety.
Final Inspection
– Verify that the heat sink is firmly attached and that there are no loose connections.
– Inspect the inverter’s operation and ensure it is functioning correctly.
Additional Considerations
Heat Sink Selection
– Choose a heat sink compatible with your specific inverter model.
– Consider the inverter’s maximum power output and operating temperature range when selecting a heat sink’s capacity.
Thermal Monitoring
– Regularly monitor the temperature of the heat sink and inverter during operation.
– Excessive temperatures may indicate an inadequate heat sink or airflow issues.
Maintenance
– Clean the heat sink and inverter periodically to prevent dust buildup and ensure optimal thermal efficiency.
– Check and tighten the heat sink’s mounting screws as needed.
Conclusion
By following these detailed instructions and embracing the guidelines provided, you can confidently install inverter heat sinks, ensuring efficient inverter operation and extending its lifespan. Remember to prioritize safety and refer to specific inverter documentation for additional guidance. With a little DIY know-how, you can empower yourself and tackle this electrical task with confidence.