With the rising energy costs and concerns about environmental conservation, solar energy has become an attractive option for many homeowners. Aluminum solar frames offer a durable and lightweight solution for mounting solar panels on rooftops or other suitable surfaces. While professional installation is recommended for complex systems, DIY installation is feasible for those with basic handyman skills. Here are some detailed tips to help you successfully install aluminum solar frames on your own.
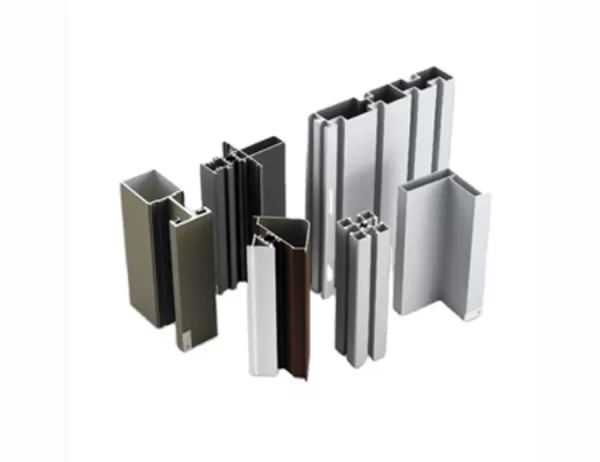
Aluminum solar frame rails and crossbars
Solar panel clamps
Rail joiners
End clamps
Flashing
Screws
Wrench
Level
Measuring tape
Safety goggles
Gloves
Before installing the solar frames, it is crucial to prepare the installation site. Ensure that the roof or surface is structurally sound and can support the weight of the solar panels. Clean the surface thoroughly to remove any debris or obstacles. Determine the optimal orientation and tilt angle based on the sun’s path and local building codes.
Measure and mark the location of the rails on the roof or surface. Align the rails parallel to the direction of the sun and ensure they are spaced evenly apart according to the solar panel dimensions. Use level and measuring tape to ensure accuracy. Secure the rails using screws or bolts of appropriate length and diameter.
Once the rails are in place, install the crossbars perpendicular to the rails. Determine the optimal spacing between crossbars based on the size of the solar panels. Secure the crossbars to the rails using rail joiners or other appropriate hardware. Ensure that the crossbars are level and securely fastened.
Place the solar panels on the crossbars and align them carefully. Secure the panels using solar panel clamps. Tighten the clamps according to the manufacturer’s specifications. Ensure that the panels are fastened securely and that the wiring is properly managed.
Once the solar panels are mounted, connect the electrical wiring according to the provided schematic. Use appropriate connectors and follow all electrical codes. Connect the system to the grid through an inverter and other necessary electrical components, such as a charge controller and a battery (optional). Have a qualified electrician inspect and certify the electrical work to ensure safety and compliance.
Install flashing around the perimeter of the solar panels to prevent water and debris from entering the roof or surface. Seal all gaps and openings securely. Consider installing a monitoring system to track the performance of the solar system and optimize energy production.