This section provides an overview of the step guide for configuring an aluminum file cabinet and provides background information. This guide is useful when setting up aluminum file cabinet profiles and is a valuable resource for DIYer and experts. < / p >
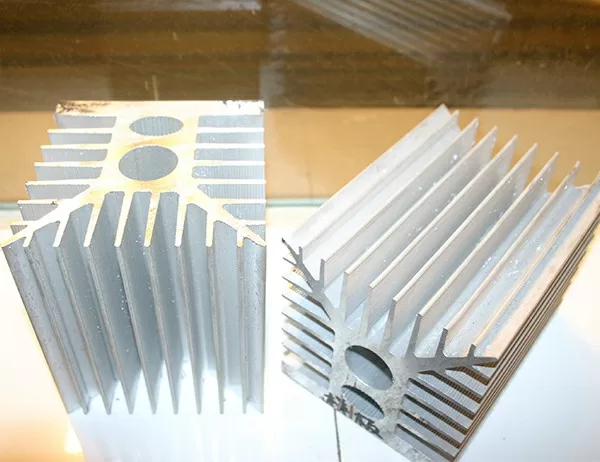
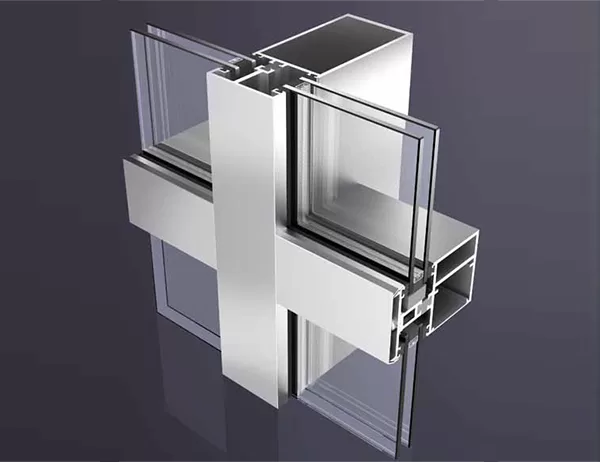
Before you begin installing an aluminum filing cabinet, it is essential to have the required materials and tools. Materials include aluminum contours, end caps, corner connectors, screws, etc. In addition, you need scales, levels, drills, screwdrivers, saws and other tools. With the right materials and tools, you can increase process efficiency and achieve professional standards. < / p >
Planning and Measuring
It is very important to carry out thorough planning and measurements before starting the installation. Carefully measure the dimensions of the cabinet so that the outline fits correctly. Confirm horizontal and vertical levels to ensure that the profile is straight. In addition, plan the position of the end caps and corner connectors, and measure the contour length of the cut appropriately. < / p >
After the measurement is complete, the aluminum outline needs to be cut to the desired length. Use the saw carefully and cut straight. In order to make a smooth cut without burrs, please finish with a file after cutting. The end caps and corner connectors should also be cut to the appropriate length. < / p >
Start assembling the cropped configuration file. Use corner connectors to connect the Outlines at right angles and use end caps to block the edges. Secure the outline with screws. During assembly, levels are used to confirm the horizontal and vertical positions of configuration files. < / p >
After the configuration, install it on the file cabinet frame. Apply adhesive to the back of the outline, or use a bracket to secure it