A Comprehensive Guide to Installing Aluminum Solar Frames
A Step-by-Step Guide to Installing Aluminum Solar Frames provides a detailed and comprehensive walkthrough for the installation of solar frames made of aluminum. Written by experts in the field, this guide is an invaluable resource for homeowners, contractors, and professionals alike.
Planning and Preparation
Before embarking on the installation process, careful planning and preparation are crucial. The guide outlines the necessary steps, including:
Site assessment: Determine the optimal location and orientation for the solar panels to maximize sunlight exposure.
Materials gathering: Ensure all required materials are available, including aluminum frames, mounting hardware, and solar panels.
Safety precautions: Familiarize yourself with safety protocols and wear appropriate protective gear during installation.
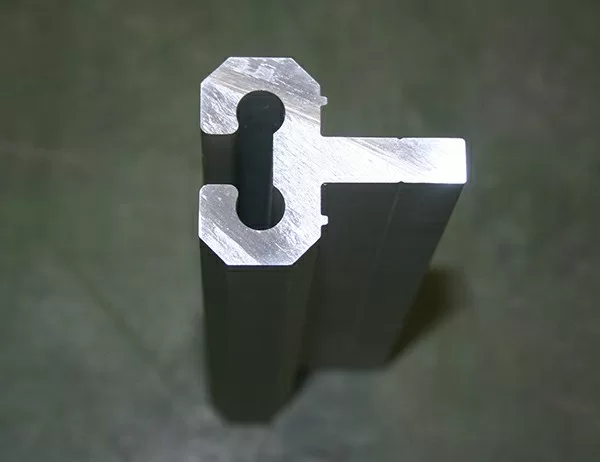
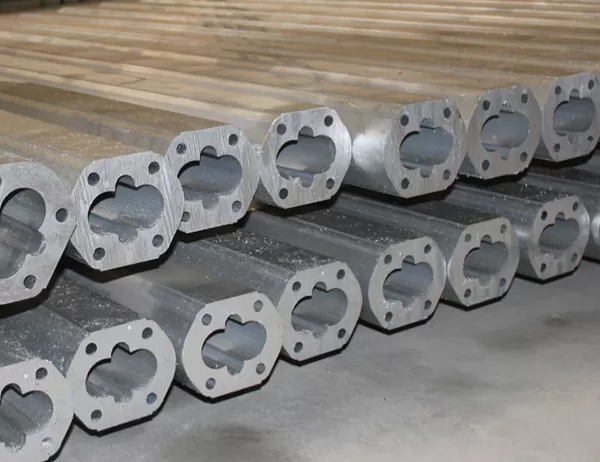
Frame Assembly
The guide provides step-by-step instructions for assembling the aluminum frames. This process typically involves:
Frame cutting: Precisely cut the aluminum extrusions to the desired lengths using a miter saw.
Connector attachment: Install connectors at the ends of the extrusions to join them together securely.
Frame verification: Verify the accuracy of the frame assembly before proceeding to mounting.
Mounting the Frames
The guide offers clear guidance on mounting the aluminum frames to the designated surface, whether it be a roof or other structure. The process includes:
Roof attachment: Secure the frames to the roof using appropriate hardware, such as lag bolts or tiles.
Structural support: Ensure the frames are adequately supported by adding additional mounting hardware or bracing if necessary.
Waterproofing: Seal any gaps or openings around the frame to prevent water ingress.
Solar Panel Installation
Once the frames are securely mounted, the guide explains how to install the solar panels within the frames:
Panel alignment: Position the panels within the frames to optimize sunlight absorption and minimize gaps.
Securement: Use clamps or bolts to firmly attach the panels to the frames, ensuring stability.
Wiring management: Connect the electrical wires from the panels to the junction box or inverter system.
Final Inspection and Testing
The final stage involves a thorough inspection and testing of the installed solar frames and panels:
Visual examination: Inspect all connections, wiring, and seals for any irregularities or defects.
Electrical testing: Use a multimeter to verify the electrical output and ensure the system is functioning properly.
Documentation: Keep a record of the installation process, including materials used, measurements, and any observations.
By following the detailed steps outlined in A Step-by-Step Guide to Installing Aluminium Solar Frames, homeowners and contractors can ensure a successful and efficient installation, maximizing the benefits of their solar energy system.