Harnessing solar energy is becoming increasingly popular as homeowners seek sustainable and cost-effective ways to power their homes. Custom solar panel mounting systems play a crucial role in maximizing solar energy efficiency and aesthetics. Solar aluminum profiles offer a versatile and DIY-friendly solution for these systems, allowing homeowners to tailor the installation to their specific needs and preferences.
Benefits of Using Solar Aluminum Profiles
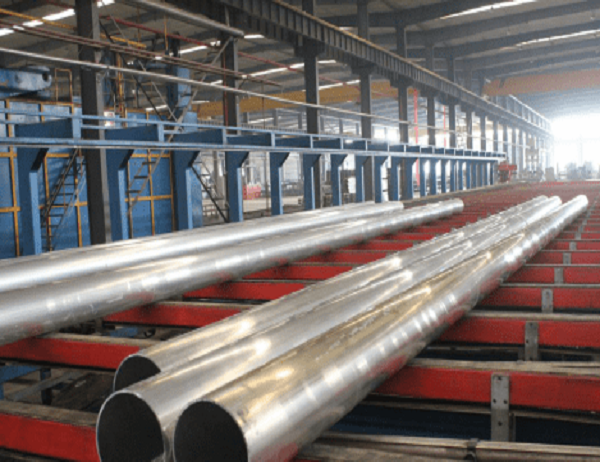
Durability and Corrosion Resistance: Aluminum is highly resistant to corrosion and adverse weather conditions, ensuring a long-lasting and reliable mounting system.
Lightweight and Easy Handling: Aluminum is lightweight, making it easy to transport, install, and adjust the mounting system as needed.
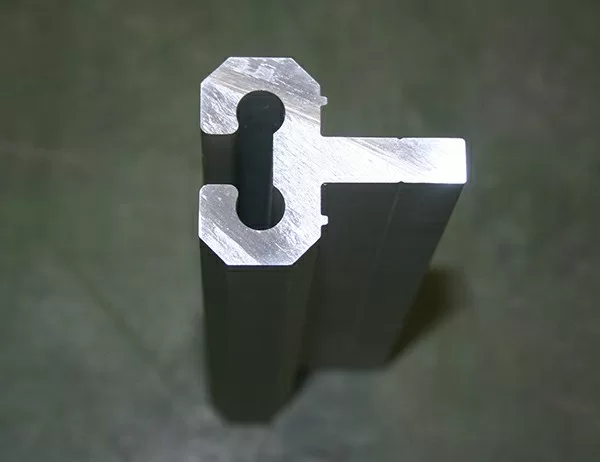
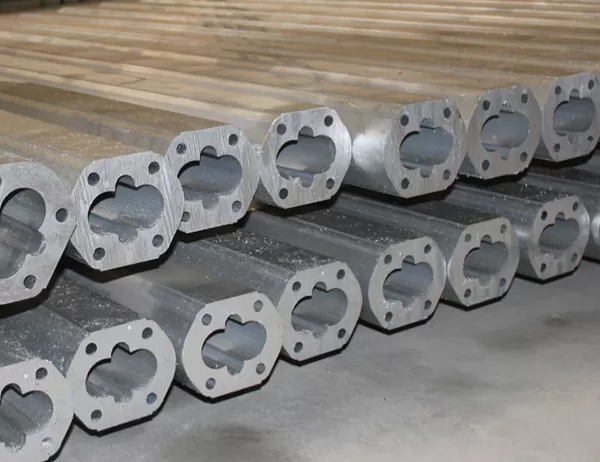
Versatility: Solar aluminum profiles are available in various shapes and sizes, providing flexibility in designing and customizing the mounting system.
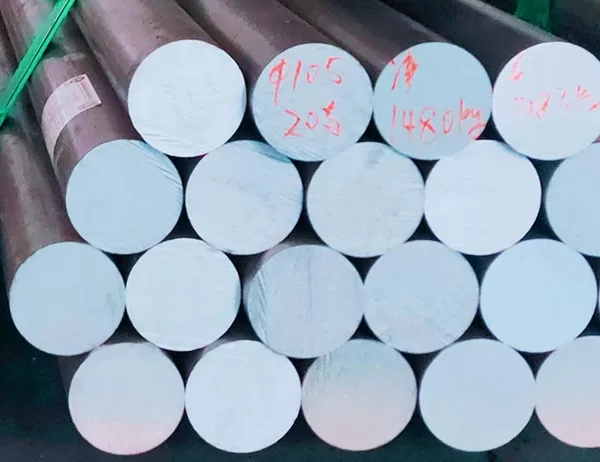
Cost-Effectiveness: Aluminum profiles are relatively affordable and offer excellent value for money compared to other mounting materials.
Easy Installation: The interlocking design of solar aluminum profiles simplifies installation and requires minimal tools or expertise.
Essential Components for Solar Panel Mounting
To build a custom solar panel mounting system using solar aluminum profiles, you will typically need the following components:
Solar Aluminum Profiles: These form the framework of the mounting system and determine the size and configuration of the installation.
Solar Panel Clamps: These secure the solar panels to the aluminum profiles and ensure proper orientation and stability.
Mounts and Brackets: These attach the mounting system to the roof structure or ground surface, providing a secure foundation.
Wiring and Junction Boxes: These connect the solar panels electrically and are crucial for ensuring optimal performance.
Hardware: Nuts, bolts, washers, and other hardware are necessary for assembling and securing the mounting system.
Step-by-Step Guide to Solar Panel Mounting
1. Plan the Mounting System: Determine the desired size and location of the solar panel installation. Consider factors such as roof angle, available space, and local building codes.
2. Gather Materials and Tools: Ensure you have all the necessary components and tools, including a drill, wrenches, and safety equipment.
3. Assemble the Aluminum Framework: Cut and join the aluminum profiles using the interlocking design. Assemble the frames according to your planned configuration.
4. Install Solar Panel Clamps: Attach the solar panel clamps to the aluminum profiles to secure the solar panels. Ensure proper alignment and spacing of the clamps.
5. Mount the System: Connect the mounts and brackets to the roof or ground surface. Carefully lift and position the assembled aluminum framework and secure it using the appropriate hardware.
6. Install Solar Panels: Place the solar panels in the clamps and carefully tighten the bolts to ensure a secure fit.
7. Wire the System: Connect the solar panels electrically to the junction boxes and wire the system to the inverter and electrical panel.
8. Commission the System: Turn on the system and verify its operation by monitoring power output and system diagnostics.
Conclusion
DIY projects using solar aluminum profiles for custom solar panel mounting offer a cost-effective and customizable solution for homeowners looking to harness solar energy efficiently. By following these steps and using quality components, you can create a durable and reliable mounting system tailored to your specific needs. Embrace the benefits of solar aluminum profiles and empower your home with sustainable energy.