DIY Aluminum Solar Frame System: A Comprehensive Guide
“How to DIY: Creating Your Own Aluminum Solar Frame System” is an invaluable resource for homeowners and solar enthusiasts alike. This article provides detailed instructions and guidance on designing, constructing, and installing your own custom aluminum solar frame system. With its step-by-step approach and clear explanations, this article empowers readers to save money, reduce their carbon footprint, and contribute to renewable energy solutions.
Materials and Tools
To embark on this DIY project, you will need the following materials:
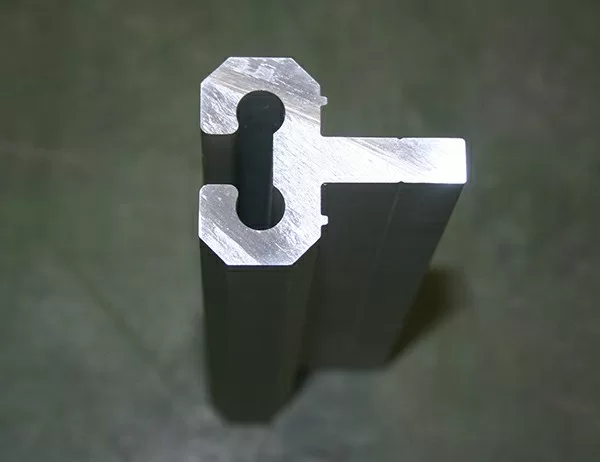
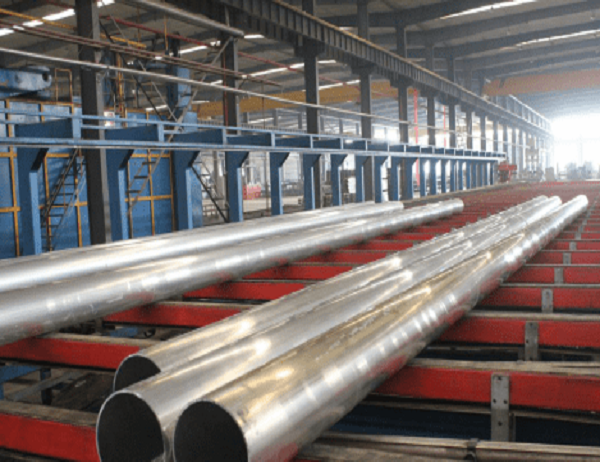
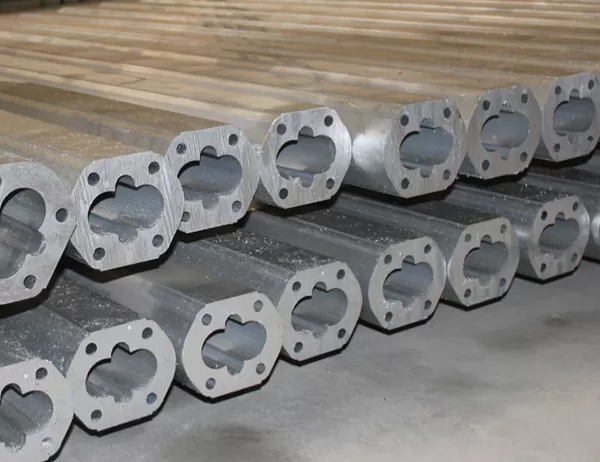
Aluminum extrusions (for the frame and rails)
Solar panels
Mounting hardware
Roof attachment components
Electrical wiring and connectors
You will also require a set of tools, including:
Circular saw
Drill
Screwdriver
Level
Measuring tape
Design Considerations
Before assembling your solar frame system, it is crucial to carefully consider the following design aspects:
Panel Orientation: Determine the optimal orientation for your solar panels based on your location and roof pitch.
Roof Type: Assess your roof structure and choose appropriate mounting hardware to ensure secure installation.
Wind and Snow Loads: Calculate the anticipated wind and snow loads in your area to ensure the frame system is sufficiently strong.
Electrical Requirements: Determine the electrical specifications of your solar panels and plan for the necessary wiring and connections.
Frame Assembly
The frame assembly process consists of the following steps:
Cutting Extrusions: Use a circular saw to cut the aluminum extrusions to the required lengths.
Drilling Holes: Drill holes for bolts, screws, and mounting hardware.
Assembling Frames: Join the extrusions using bolts and nuts to create the frame that holds the solar panels.
Attaching Rails: Attach aluminum rails to the frames, which will support the solar panels.
Panel Installation
With the frame assembled, you can proceed with the panel installation:
Mounting Panels: Place the solar panels securely on the rails, using mounting hardware.
Wiring Panels: Connect the solar panels electrically using wiring and connectors.
Leveling Array: Ensure that the solar array is leveled for optimal performance.
Roof Installation
The final step is to install the solar array on the roof:
Attaching to Roof: Choose appropriate mounting components for your roof type and attach the solar frame system securely.
Flashing: Use flashing to prevent water infiltration around the points of entry for the electrical wires.
Electrical Connection: Connect the solar system to your electrical grid or battery bank.
Conclusion
By following the instructions outlined in “How to DIY: Creating Your Own Aluminum Solar Frame System,” you can successfully design, build, and install a customized solar frame system for your home. This process not only saves you significant costs but also empowers you to contribute to a cleaner and more sustainable future.