Aluminum heat sinks are widely used in various electronic devices to dissipate heat and maintain optimal operating temperatures. Effective installation and maintenance of these heat sinks are crucial to ensure their functionality and extend their lifespan. This comprehensive guide will provide detailed instructions on how to install and maintain aluminum heat sinks to achieve efficient heat dissipation and safeguard the performance of your electronic equipment.
Before embarking on the installation process, gather the following materials:
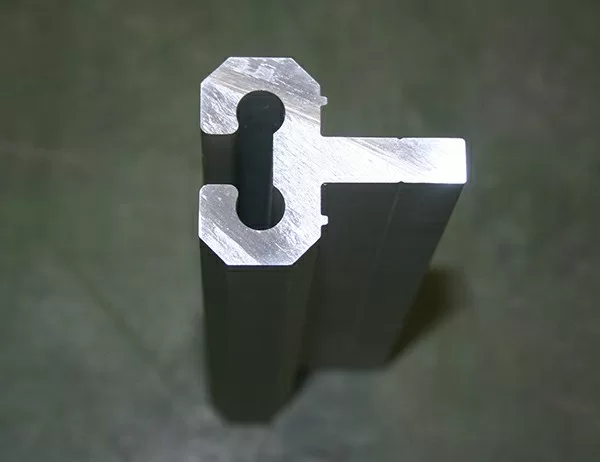
Aluminum heat sink
Thermal paste
Screw kit
Thermal pads (optional)
Screwdriver
1. Prepare the Heat Sink: Check if the heat sink is compatible with the device’s dimensions and mounting holes. Remove any protective covers or films from the heat sink’s contact surface.
2. Apply Thermal Paste: Apply a thin and uniform layer of thermal paste to the contact surface of the heat sink. This paste fills microscopic air gaps, improving heat transfer between the heat sink and the device’s surface.
3. Mount the Heat Sink: Align the heat sink with the mounting holes on the device. Use screws to secure the heat sink tightly, ensuring even pressure distribution. If necessary, apply thermal pads between the heat sink and any neighboring components to improve heat dissipation.
4. Secure the Screws: Use a screwdriver to tighten the screws evenly and firmly. Avoid overtightening, as this can damage the device or heat sink.
1. Regular Cleaning: Regularly clean the heat sink’s fins and surface to remove dust and debris that impede heat dissipation. Use compressed air or a soft brush to dislodge any accumulated particles.
2. Thermal Paste Renewal: Thermal paste gradually dries out over time, reducing its thermal conductivity. Renew the thermal paste every few years or after major disassembly and reassembly of the system.
3. Fin Inspection: Inspect the fins of the heat sink for any damage, such as bending or corrosion. Bent fins can disrupt airflow and reduce heat transfer efficiency.
4. Tightening of Screws: Over time, screws can loosen due to vibrations or expansion and contraction. Periodically check and tighten any loose screws to maintain firm contact between the heat sink and the device.
1. Overheating: If the device overheats despite the installed heat sink, check for inadequate contact between the heat sink and the device’s surface or for a clogged or dusty heat sink.
2. Loose Heat Sink: If the heat sink is loose or wobbles, retighten the mounting screws evenly to ensure a secure connection.
3. Faulty Heat Sink: If the heat sink becomes excessively hot or shows signs of damage, it may be faulty. Replace the heat sink with a compatible one.
By following these guidelines, you can effectively install and maintain aluminum heat sinks to enhance heat dissipation and ensure optimal performance of your electronic devices. Proper maintenance and care will prolong the lifespan of the heat sink and safeguard the longevity of your equipment.