How to Properly Mount an Inverter Heat Sink: A Comprehensive Guide
In the realm of electronics, inverters play a crucial role in converting direct current (DC) to alternating current (AC). These devices often generate significant heat as a byproduct of their operation, necessitating the use of heat sinks to dissipate this excess thermal energy. Proper mounting of the heat sink is paramount to ensure optimal cooling and extend the lifespan of the inverter.
Why it Matters
Improperly mounted heat sinks can lead to several detrimental consequences:
Overheating: Inadequate heat dissipation can cause the inverter to overheat, damaging its internal components and potentially leading to failure.
Reduced Efficiency: Overheating can also reduce the inverter’s efficiency, resulting in wasted energy and impaired performance.
Shortened Lifespan: Excessive heat stress can accelerate the aging of the inverter’s components, significantly缩短它的使用寿命.
Step-by-Step Guide
To ensure proper heat sink mounting, follow these steps meticulously:
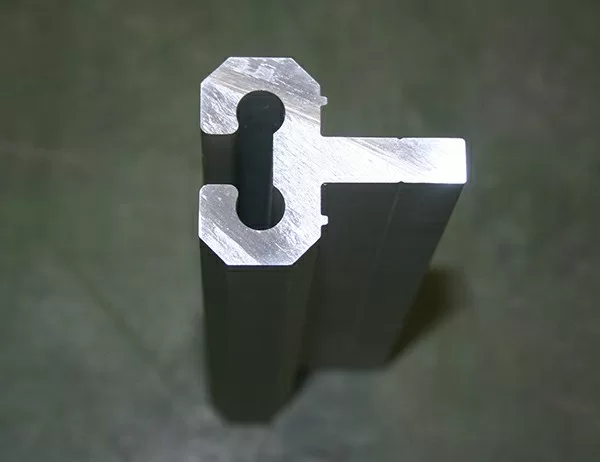
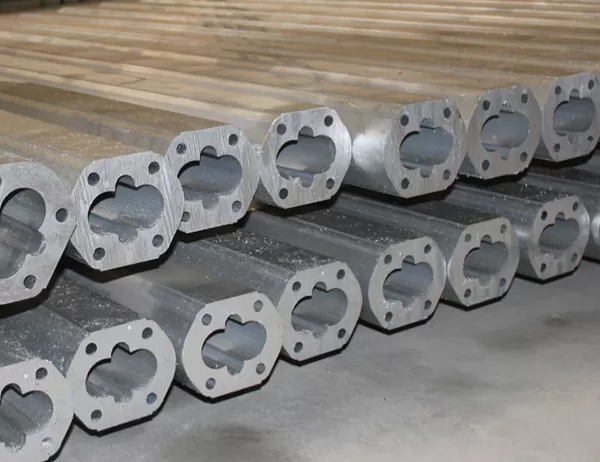
1. Choose the Right Heat Sink: Select a heat sink with sufficient cooling capacity for the inverter’s power dissipation. Consider the heat sink’s size, material, and fin design.
2. Clean the Surfaces: Thoroughly clean both the heat sink base and the inverter mounting surface using isopropyl alcohol to remove any dirt, oil, or debris.
3. Apply Thermal Paste: Apply a thin layer of high-quality thermal paste to the center of the heat sink base. Thermal paste improves heat transfer between the inverter and the heat sink.
4. Mount the Heat Sink: Carefully align the heat sink on the inverter mounting surface and secure it using the provided mounting hardware. Tighten the screws or bolts evenly to ensure proper contact.
5. Check the Thermal Joint: Use a thermal imaging camera or a multimeter to verify the thermal contact between the inverter and the heat sink. If the temperature difference is significant, adjust the heat sink mounting or apply additional thermal paste.
Additional Tips
Use a mounting bracket: For inverters with irregular mounting surfaces, a mounting bracket can provide a stable and secure platform for the heat sink.
Consider air flow: Ensure that there is sufficient air flow around the heat sink to facilitate heat dissipation. Avoid mounting the heat sink in enclosed spaces or near heat-generating components.
Monitor the Inverter’s Temperature: Regularly check the inverter’s temperature during operation. If it exceeds the manufacturer’s specified limits, consider upgrading the heat sink or improving the ventilation.
By meticulously following these steps and adhering to the additional tips, you can ensure that your inverter heat sink is properly mounted. This will help maintain the inverter’s optimal performance, extend its lifespan, and prevent costly repairs or replacements.