Installing Aluminum Solar Frames: A Comprehensive Guide
Introduction: Enhancing Solar Energy Harvesting with Aluminum Solar Frames
Harnessing solar energy has become a crucial step towards sustainable living. Aluminum solar frames play a vital role in this process, providing a strong and durable support structure for photovoltaic (PV) modules. This step-by-step guide will comprehensively articulate the process of installing aluminum solar frames, ensuring optimal performance and longevity of your solar system.
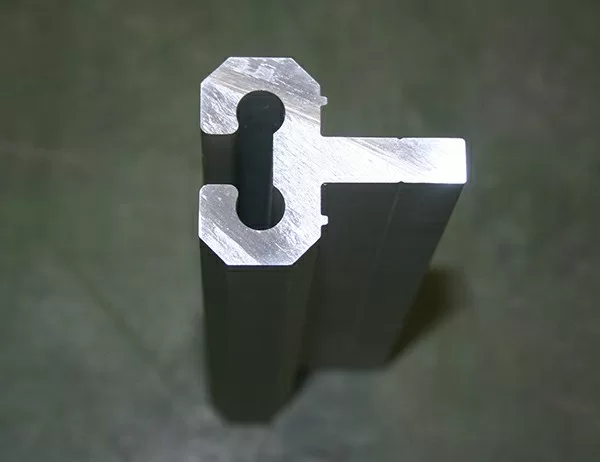
Choosing the Right Frames
Selecting the appropriate aluminum frames is essential for ensuring compatibility with your PV modules and overall system design. Considerations include:
– Module Size and Weight: Determine the dimensions of your solar panels and their weight to choose frames that provide sufficient support.
– Terrain and Climate: Assess local weather conditions, including wind loads and snowfall, to select frames with the necessary structural integrity.
– Roof Type: Different roof types (flat, pitched, curved) require specific frame mounting systems to maintain stability and minimize stress.
Assembling and Installing the Frames
Assembling:
– Gather the necessary components (rails, crossbeams, end caps, and fasteners).
– Follow the manufacturer’s instructions to assemble the frame structure by connecting the rails and crossbeams using bolts and nuts.
– Ensure that all connections are secure and meet the specified torque requirements.
Mounting:
– Position the frames on the roof using a roof mount system compatible with your roof type.
– Secure the frames using appropriate hardware (lag bolts, flashings, and sealants) to withstand the structural and environmental forces.
– Level the frames using a spirit level and make necessary adjustments to ensure proper alignment.
Mounting Solar Panels
Panel Positioning:
– Position the solar panels within the frames to ensure proper spacing and alignment.
– Use mounting clips or clamps to securely attach the panels to the frames.
– Ensure that the panels are level and parallel to each other to optimize energy production.
Electrical Connections:
– Connect the solar panels in series or parallel as per the system design.
– Use MC4 connectors or other approved connectors to secure the electrical connections.
– Isolate and protect the connections using electrical tape or junction boxes to prevent moisture and corrosion.
Finishing Touches
Grounding:
– Ground the solar frame system to protect against electrical hazards.
– Install a grounding rod or connect to an existing grounding system.
Inspection and Maintenance:
– Inspect the installation regularly to ensure that all components are secure and functioning properly.
– Clean the frames and panels periodically to remove dirt and debris that may affect performance.
– Monitor the system’s performance and address any issues promptly to maintain optimal energy generation.