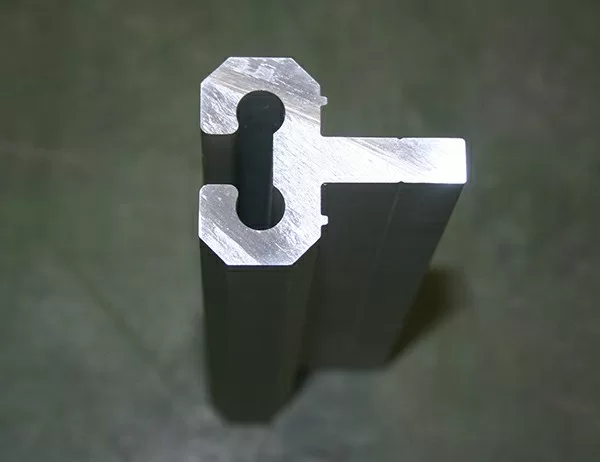
Polished aluminum angles offer a sleek and modern aesthetic to any interior or exterior space. Installing them can be a straightforward process with the right preparation and tools. This comprehensive guide will provide beginners with a step-by-step approach to successfully installing polished aluminum angles.
Measuring and Cutting
1. Determine the desired length and angle for the aluminum angles. Use a measuring tape and a miter saw to ensure accurate cuts.
2. Mark the cutting lines on the aluminum angles using a pencil or scribe.
3. Cut the aluminum angles using the miter saw, ensuring clean and precise cuts.
Preparing the Surface
1. Clean the surface where the aluminum angles will be installed. Remove dust, dirt, and any debris using a cleaning solution.
2. Sand the surface lightly to smooth any rough edges or imperfections.
3. Wipe the surface clean using a damp cloth.
Installing the Aluminum Angles
1. Apply a bead of construction adhesive to the back of the aluminum angles.
2. Place the aluminum angles in the desired position on the surface.
3. Use a level to ensure that the angles are aligned correctly.
4. Press the aluminum angles firmly into the adhesive.
Securing the Angles
1. Drill pilot holes through the aluminum angles into the underlying surface.
2. Insert screws into the pilot holes and tighten them securely.
3. Countersink the screws below the surface of the aluminum angles using a countersink bit.
4. Fill the countersunk holes with matching touch-up paint or caulk to conceal the screws.
Finishing Touches
1. Polish the aluminum angles using a metal polish or wax to enhance their shine.
2. Clean the aluminum angles using a soft cloth to remove any excess polish.
3. Protect the aluminum angles from scratches or damage by applying a clear coat or protective spray.